
This blog is to describe how to compile and run the nRF5 HIDs Keyboard example from nRF Connect SDK.
nRF Connect SDK
The nRF Connect SDK is where you begin building low power wireless applications with Nordic Semiconductor nRF52, nRF53, and nRF91 Series devices.
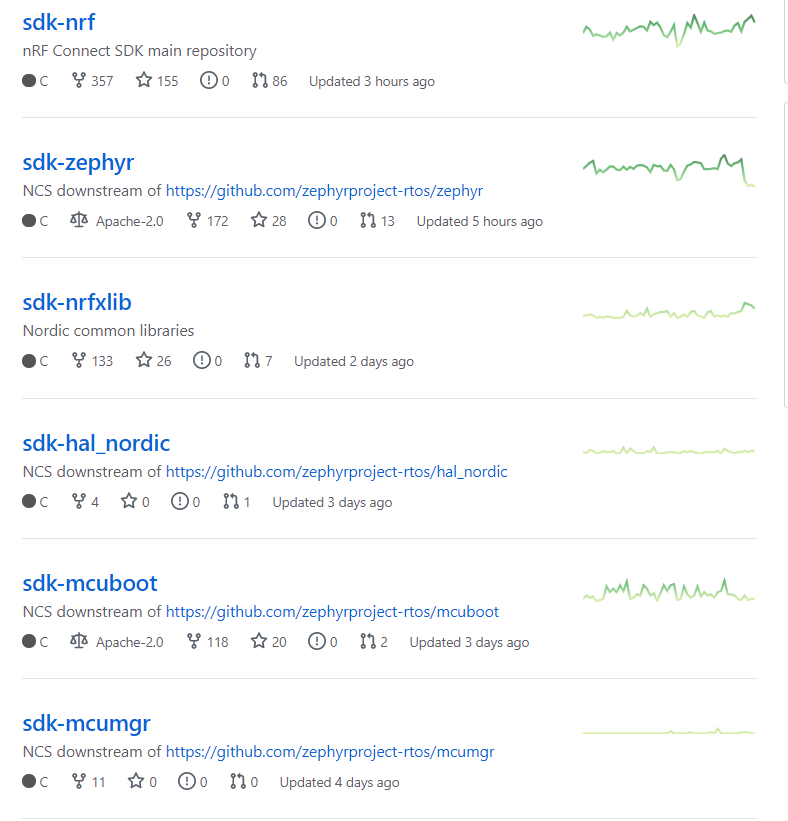
The nRF Connect SDK is moved to https://github.com/nrfconnect instead of https://github.com/nordicplayground/nrfconnect. The folder of this github are shown as below.
Also, all the latest documentation can be found at https://developer.nordicsemi.com/nRF_Connect_SDK/doc/latest/nrf/index.html.
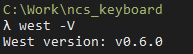
Check the West Version
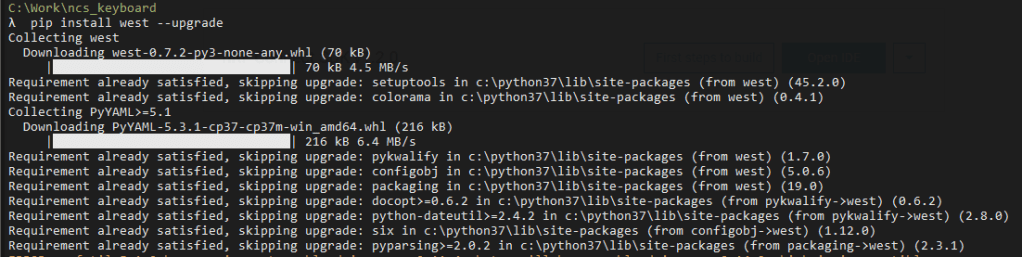
Upgrade west if need
Upgrade some dependence modules such as nrfutil

Create the folder of the ncs_keyboard

Checkout the master branch with West
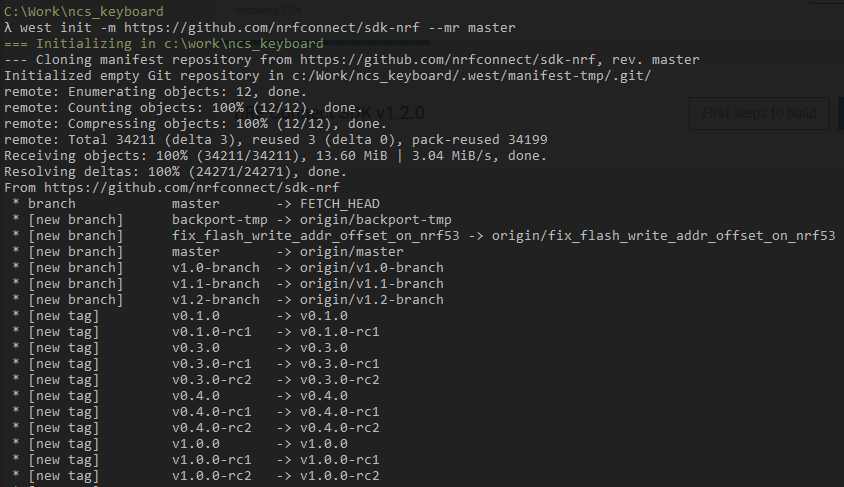
Enter the following command to clone the project repositories:
west update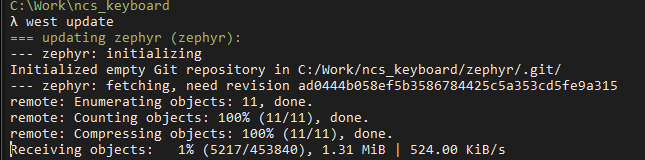
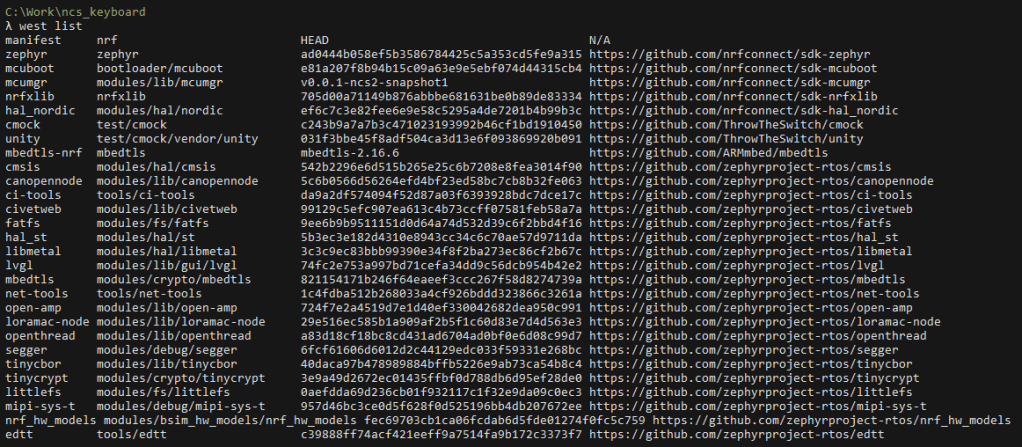
After do the west update, you can check the version of each.
If you need to get the particular tag release, you can use the git to check
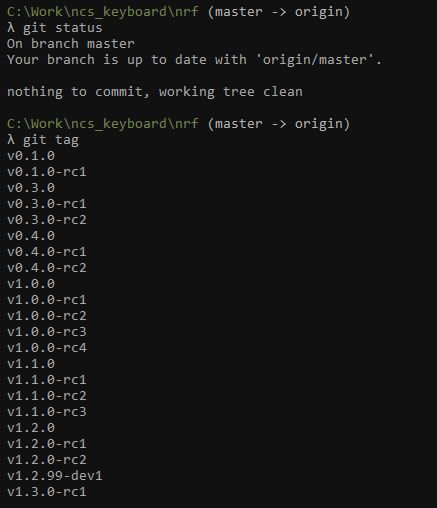
For example, I plan to use the v1.3.0-rc1 on the NCS.
git checkout v1.3.0-rc1
cd ..
west update
nRF Desktop
The nRF Desktop is a reference design of a Human Interface Device (HID) that is connected to a host through Bluetooth LE or USB, or both. Depending on the configuration, this application can work as desktop mouse, gaming mouse, keyboard, or connection dongle.
The nRF Desktop application supports common input hardware interfaces like motion sensors, rotation sensors, and buttons scanning module. The firmware can be configured at runtime using a dedicated configuration channel established with the HID feature report.
The same channel is used to transmit DFU packets.
Overview: Firmware architecture
The nRF Desktop application design aims at high performance, while still providing configurability and extensibility.
The application architecture is modular and event-driven.
This means that parts of the application functionality are separated into isolated modules that communicate with each other using application events, which are handled by the event_manager.
https://developer.nordicsemi.com/nRF_Connect_SDK/doc/latest/nrf/applications/nrf_desktop/README.html
Modules register themselves as listeners of those events that they are configured to react to.
An application event can be submitted by multiple modules and it can have multiple listeners.
See the following subsections for more information about the firmware architecture:
- Module and component overview
- Module usage per hardware type
- Thread usage
- Memory allocation
- HID mouse data forwarding
Module usage per hardware type
Since the application architecture is uniform and the code is shared, the set of modules in use depends on the selected device role. A different set of modules is enabled when the application is working as mouse, keyboard, or dongle:
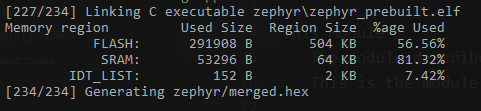
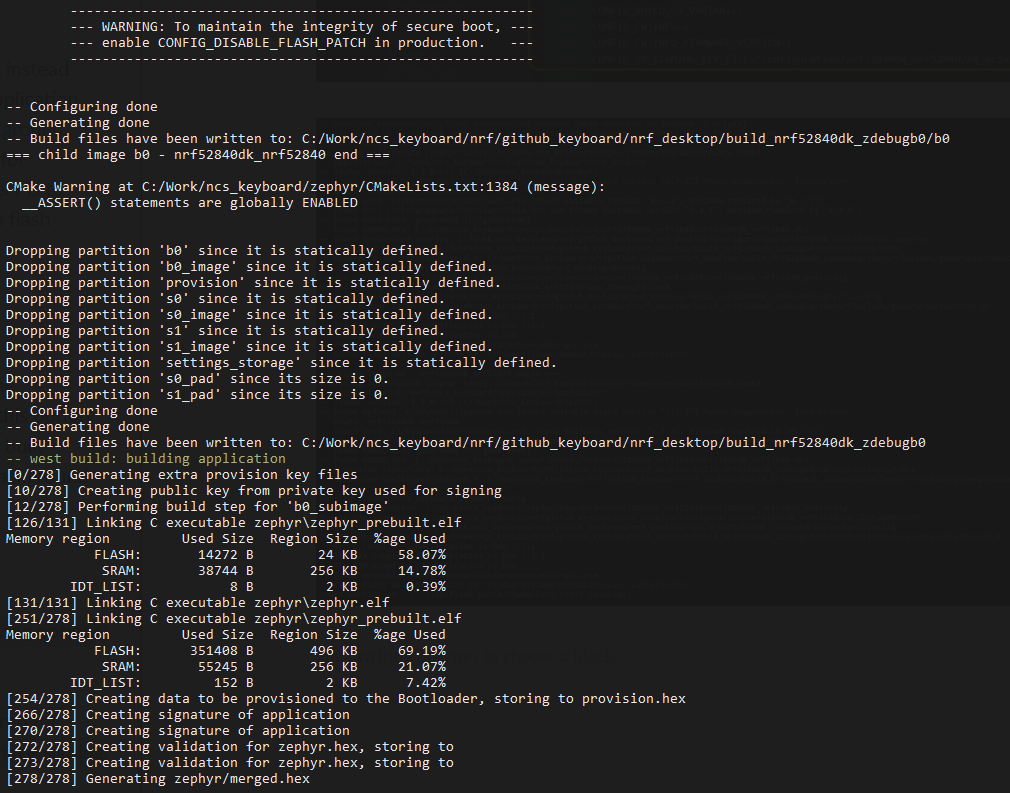
Memory Usage
All the examples are based on the 1.3.0-rc1.
nrf52dmouse_nrf52832

nrf52kbd_nrf52832
nrf52840gmouse_nrf52840

nrf52840dk_nrf52840

nrf52840dongle_nrf52840

Selecting nRF Desktop build types
Before you start testing the application, you can select one of the nRF Desktop build types, depending on your development kit and building method.
To select the build type in SEGGER Embedded Studio:
- Go to Tools -> Options… -> nRF Connect.
- Set
Additional CMake Optionsto-DCMAKE_BUILD_TYPE=selected_build_type. For example, forZReleaseset the following value:-DCMAKE_BUILD_TYPE=ZRelease. - Reload the project.
The changes will be applied after reloading.
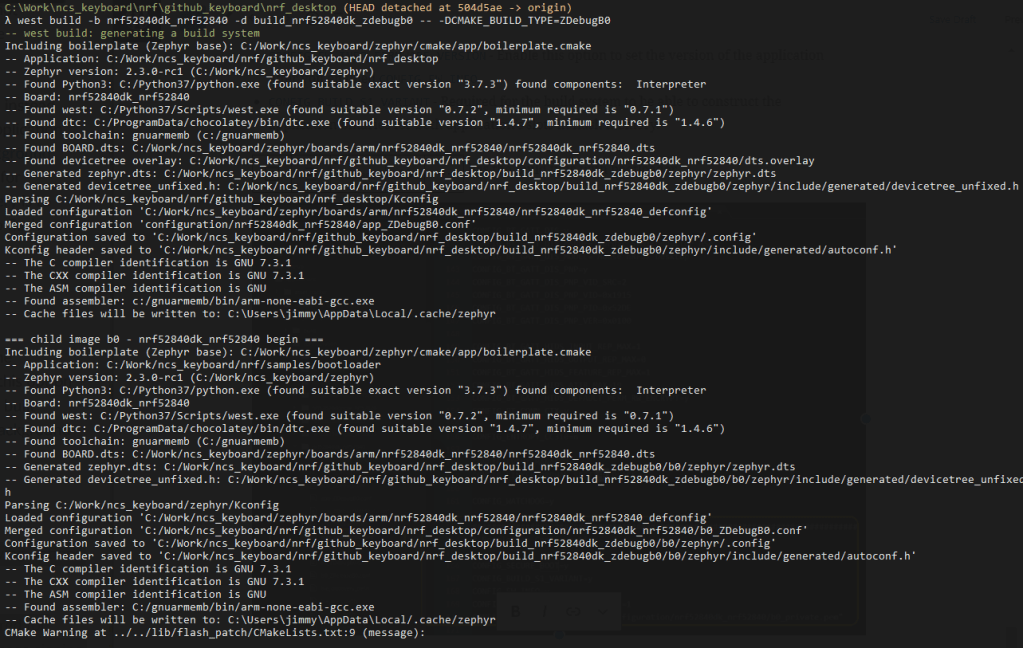
Selecting a build type from command line
To select the build type when building the application from command line, specify the build type by adding the -- -DCMAKE_BUILD_TYPE=selected_build_type to the west build command.
For example, you can build the ZRelease firmware for the PCA20041 board by running the following command in the project directory:
west build -b nrf52840_pca20041 -d build_pca20041 -- -DCMAKE_BUILD_TYPE=ZRelease
The build_pca20041 parameter specifies the output directory for the build files.

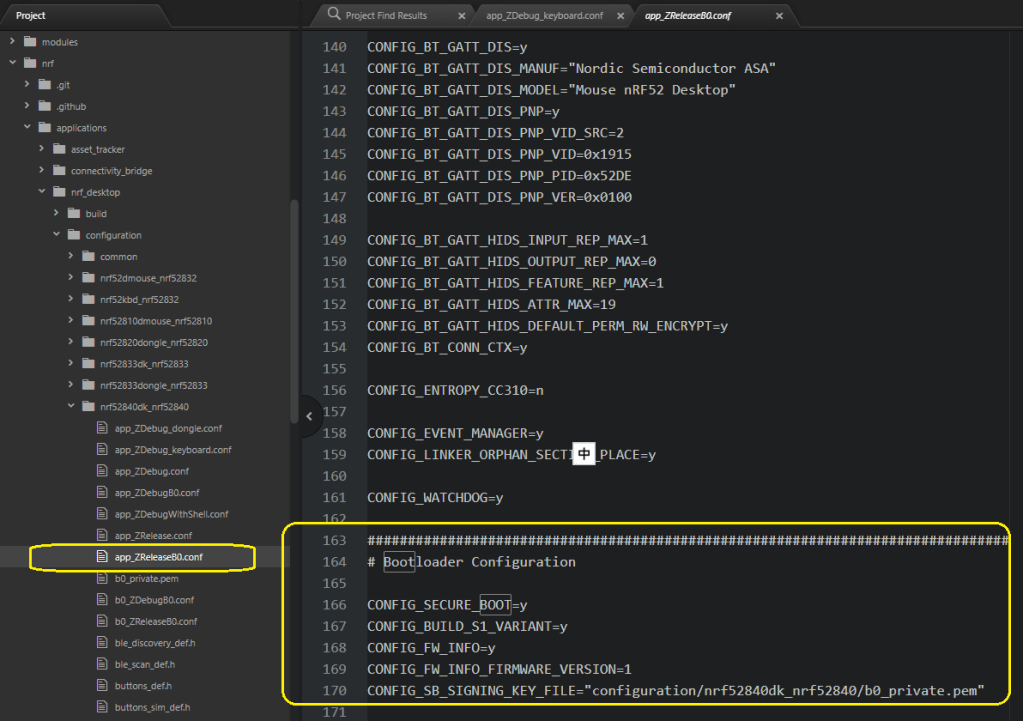
NRF52840 Keyboard with Bootloader B0 (release version)


Bootloader
The nRF Desktop application uses Secure Bootloader, referred in this documentation as B0.
B0 is a small, simple, and secure bootloader that allows the application to boot directly from one of the application slots, thus increasing the speed of the direct firmware upgrade (DFU) process. More information about the B0 can be found at the Immutable bootloader page.
Enabling the bootloader
To enable the B0 bootloader, select the CONFIG_SECURE_BOOT Kconfig option. If this option is not selected, the application will be built without the B0 bootloader, and the background DFU will not be available.
Required options
The B0 bootloader requires the following options enabled:
CONFIG_SB_SIGNING_KEY_FILE– Required for providing the signature used for image signing and verification.CONFIG_FW_INFO– Required for the application versioning information.CONFIG_FW_INFO_FIRMWARE_VERSION– Enable this option to set the version of the application after you enabledCONFIG_FW_INFO.CONFIG_BUILD_S1_VARIANT– Required for the build system to be able to construct the application binaries for both application’s slots in flash memory.
For example, nrf52840dk_nrf52840 has the build type with bootloader.
How to generate the dfu_application.zip (dfu package)
Prepare the python applications (configuration channel) for DFU
Requirements
To use the HID configurator, you must set up the required Dependencies. Complete the following instructions, depending on your operating system:
Windows
Complete the following steps:
- Download the HIDAPI library from HIDAPI releases. Use the bundled DLL or build it according to instructions in HIDAPI library.
- Install pyhidapi Python wrapper with the following command:
py -3 -m pip install -r requirements.txt

Copy the hidapi.lib and hidapi.dll inside the folder nrf\scripts\hid_configurator

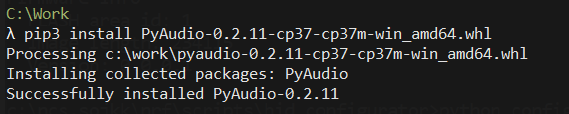
Download the pre-release of the pyAudio module
Check on the python version first
download PyAudio‑0.2.11‑cp37‑cp37‑win_amd64.whl from here on my computer in C:\Downloads\PyAudio-0.2.11-cp38-cp38-win32.whl (because I am using the python 3.7.3 in this example)
https://www.lfd.uci.edu/~gohlke/pythonlibs/#pyaudio

I am aware that the dongle in the nrf Desktop reference designs are intended to act like a usb bridge, when desired, but i want to use the dongle as the target hardware for the keyboard reference design. I don’t need the dongle to connect to a USB port like a router, but the dongle must BE the keyboard hid.
More practical:
The dongle must connect to a laptop/desktop/mobile device over ble as an hid keyboard, and the pushbutton must “type” a hard coded string/char to the connected device when I press the pushbutton on the dongle.
Example, if button pressed type “hello” on the connected device.
The designs are so close yet not this yet.
Please advise how to change things you get this done.
Thanks!
LikeLike
I don’t have much information to share with you in this question. You can use the HID keyboard /mouse and go through the BLE information instead of using the USB dongle.
LikeLike